During the last month, I learned about the awesome UIKit Dynamic animations framework. It’s a physics-based animation and it’s really fun when you use it wisely in your applications. You can add different physics-based behaviors like collisions, bouncing, gravity .. and a lot more behaviors and settings. Today I’ll take you in a quick tour on how to use the framework, and then, we’ll build together a fun demo app that demonstrates the effect of combining different behaviors, also the effect of changing magnitudes and settings of the different behavior.
So, enough talking let’s get our hands dirty!
The overall picture
UIKit Dynamics is a full real-world physics engine integrated into UIKit. It allows you to create interfaces that feel real by adding behaviors such as gravity, attachments, collision and forces. You define the physical traits that you would like your interface elements to adopt, and the dynamics engine takes care of the rest.
The steps to use the framework are fairly easy:
- Create UIDynamicAnimator
- Add UIDyanamicBehavior(s) (gravity, collisions, etc.)
- Add UIDynamicItem(s) to the animator to be animated, usually UIViews.
- That’s it!
Simple start, the falling square
Let’s start with a simple example, the first step from the above end result animation is to only draw a square and use the UIKit Dynamics to make it fall due to gravity pointing downward.
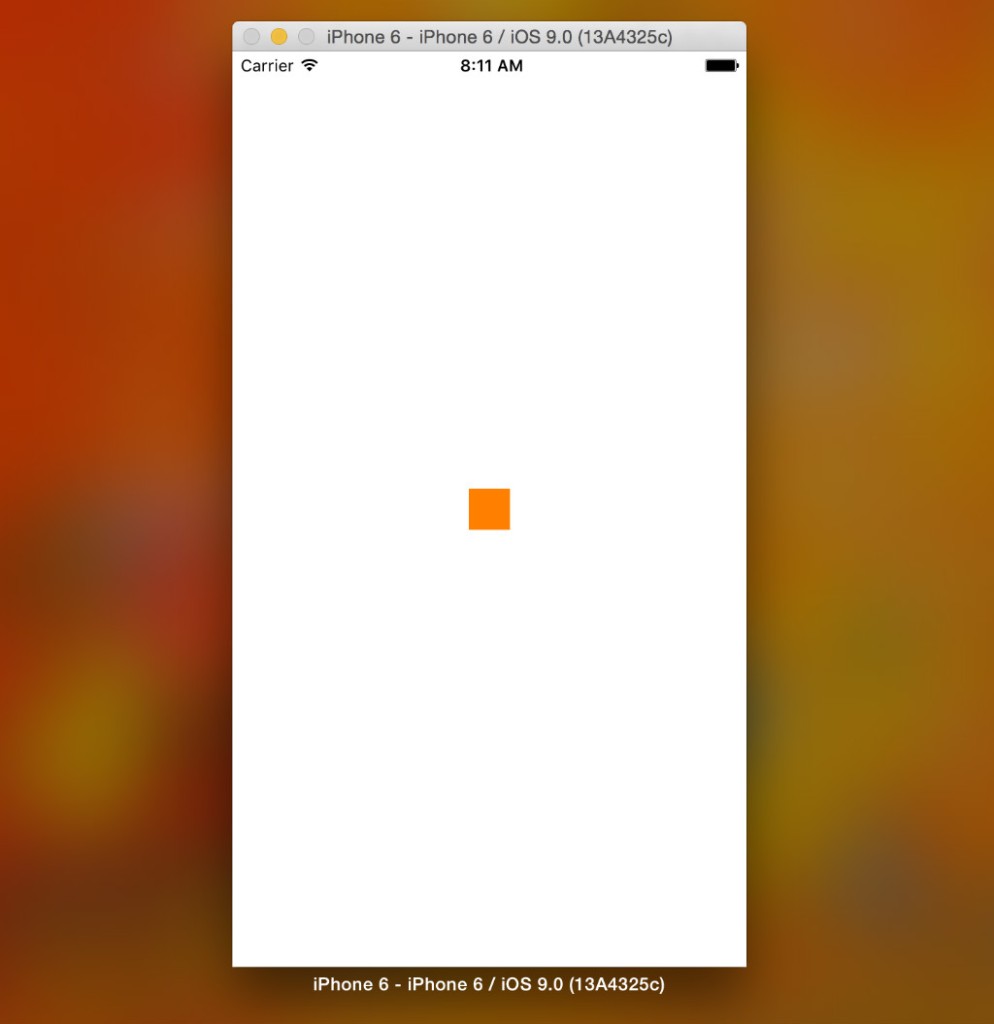
First, let’s draw our first static square at the middle of our view.
This file contains bidirectional Unicode text that may be interpreted or compiled differently than what appears below. To review, open the file in an editor that reveals hidden Unicode characters.
Learn more about bidirectional Unicode characters
| @IBOutlet var animationView: UIView! | |
| var squareView:UIView! | |
| override func viewDidLoad() { | |
| super.viewDidLoad() | |
| drawSquare() | |
| } | |
| func drawSquare(){ | |
| let squareSize = CGSize(width: 30.0, height: 30.0) | |
| let centerPoint = CGPoint(x: self.animationView.bounds.midX – (squareSize.width/2), y: self.animationView.bounds.midY – (squareSize.height/2)) | |
| let frame = CGRect(origin: centerPoint, size: squareSize) | |
| squareView = UIView(frame: frame) | |
| squareView.backgroundColor = UIColor.orangeColor() | |
| animationView.addSubview(squareView) | |
| } |
Now we’re ready to write our first animation code, let’s follow the steps mentioned above:
- Create the UIDynamicAnimator
- From the documentation, “a dynamic animator provides physics-related capabilities and animations for its dynamic items, and provides the context for those animations. It does this by intermediating between the underlying iOS physics engine and dynamic items, via behavior objects you add to the animator”.
- That’s the class that actually drives everything.
- When creating it, you have to specify the top level view of the view hierarchy where you want to animate your views (i.e. any view that this animator will act on, must be subview to this root view).
- Create and add UIDynamicBehavior(s)
- You specify dynamic behaviors using any of the iOS primitive dynamic behavior classes: UIAttachmentBehavior, UICollisionBehavior, UIDynamicItemBehavior, UIGravityBehavior, UIPushBehavior, and UISnapBehavior. Each of these provides configuration options and lets you associate one or more dynamic items to the behavior. To activate a behavior, add it to an animator.
- To use dynamics, configure one or more dynamic behaviors—including providing each with a set of dynamic items—and then add those behaviors to a dynamic animator.
- Add UIDynamicItem(s)
- UIDyanamicItem is just a protocol, which UIView implements.
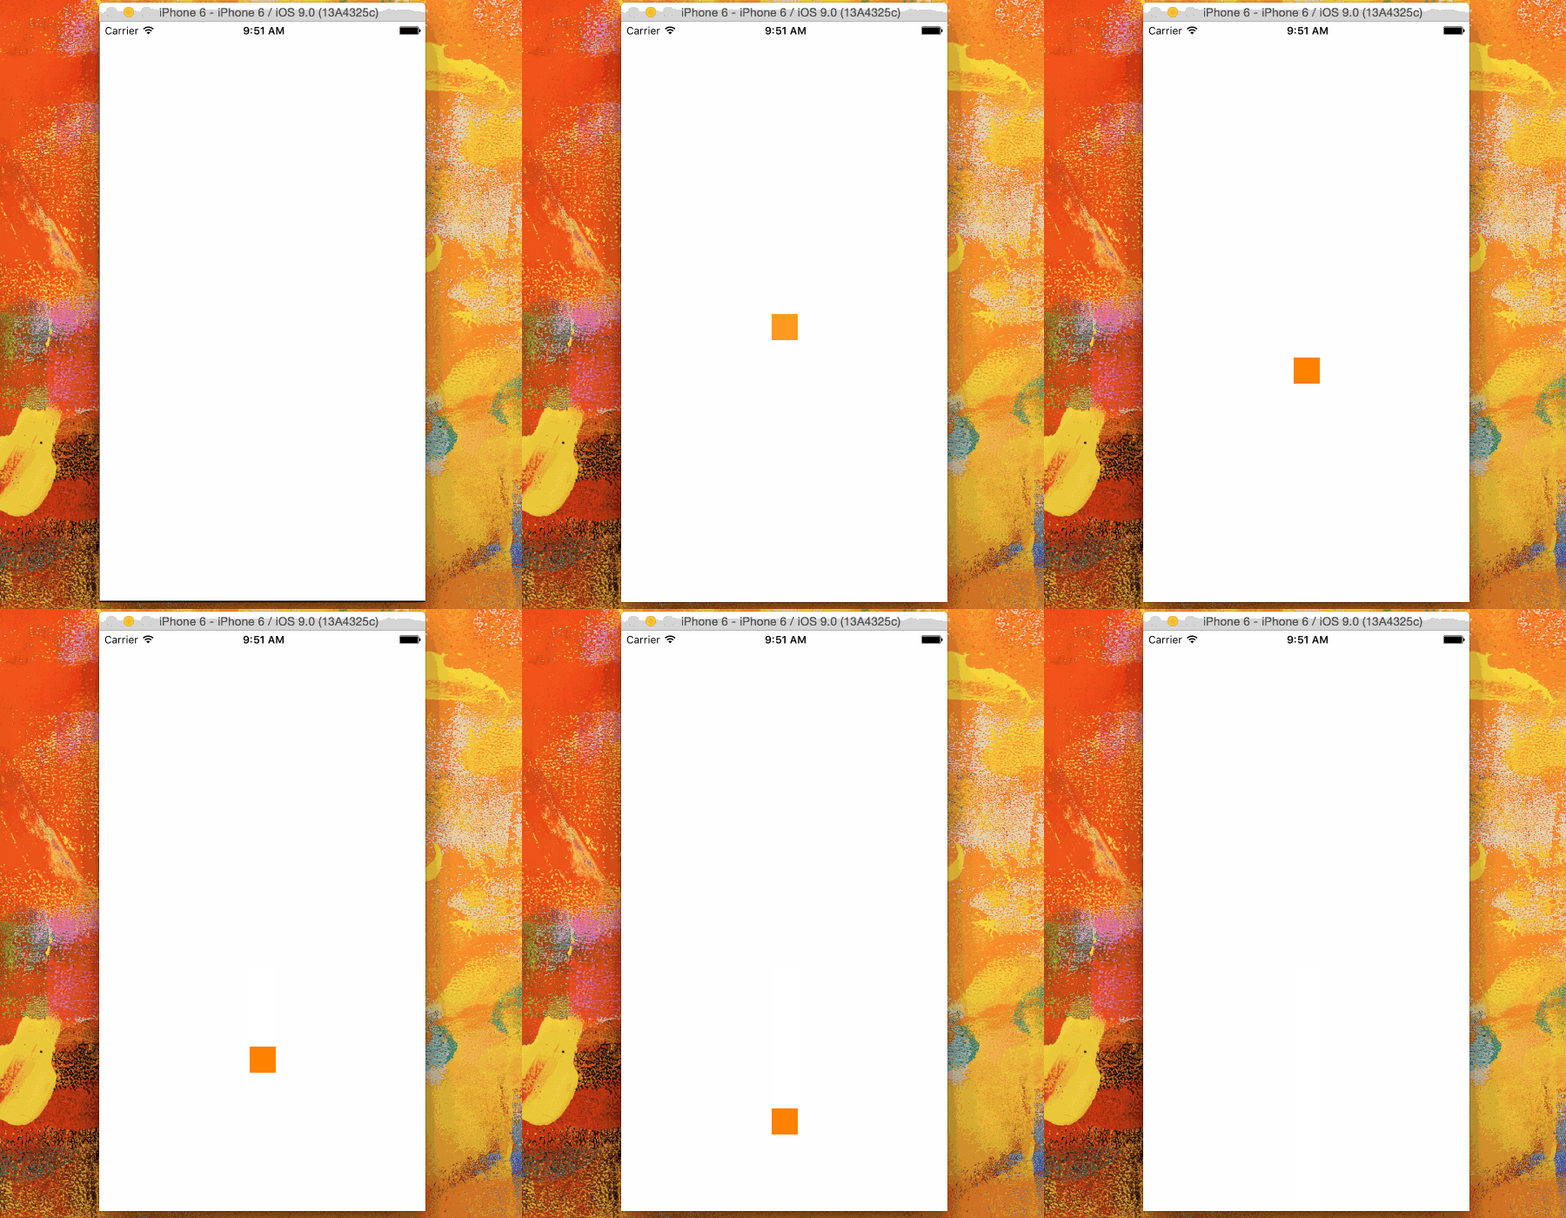
We’ll start by adding a gravity behavior to pull the square downwards, here’s how our code looks like after following the 3 steps:
This file contains bidirectional Unicode text that may be interpreted or compiled differently than what appears below. To review, open the file in an editor that reveals hidden Unicode characters.
Learn more about bidirectional Unicode characters
| lazy var animator: UIDynamicAnimator = { | |
| return UIDynamicAnimator(referenceView: self.animationView) | |
| }() | |
| lazy var gravity:UIGravityBehavior = { | |
| let lazyGravity = UIGravityBehavior() | |
| return lazyGravity | |
| }() | |
| func animateSquare(){ | |
| // 1. Add behaviors to the animator | |
| animator.addBehavior(gravity) | |
| // 2. Add items to the behavior | |
| gravity.addItem(squareView) | |
| } |
Here’s how it looks:
Adding UICollisionBehavior
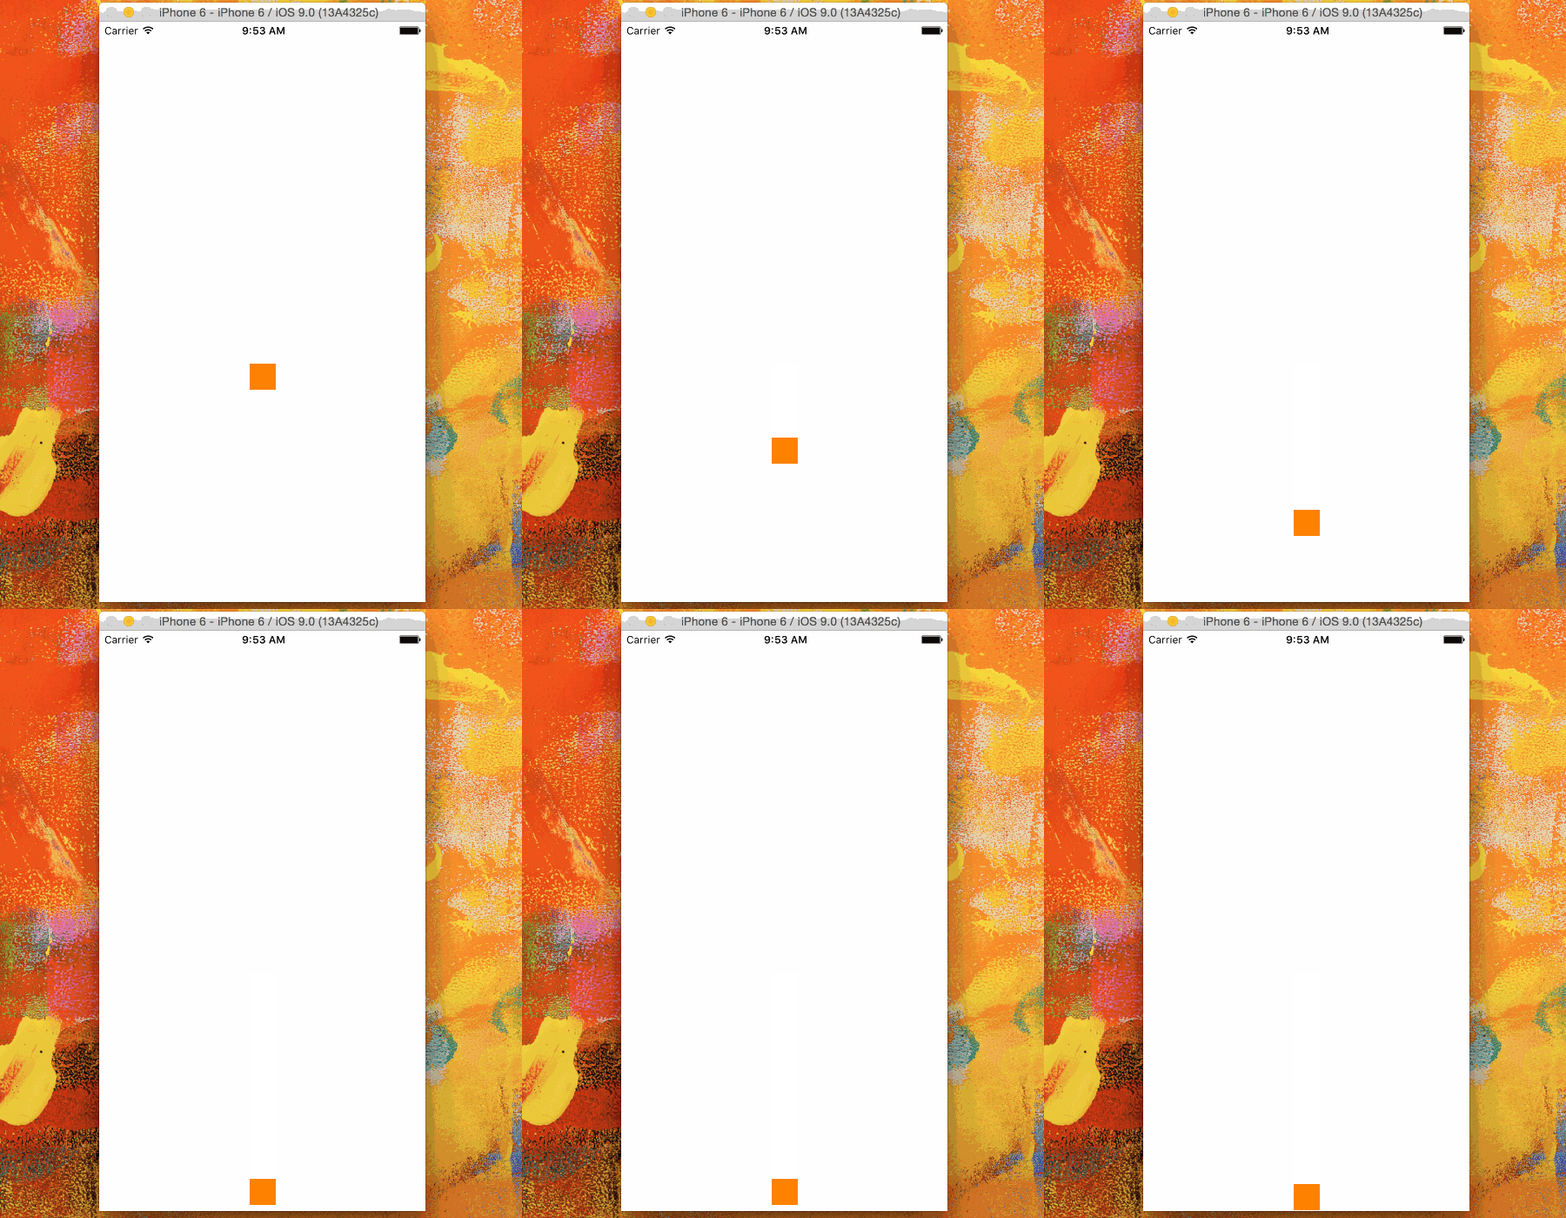
How about making the square collides with the bottom of the view instead of running away from the bottom? To achieve this we only need to configure a new behavior (UICollisionBehavior) add it to the animator, and then add our square to the collider. Here’s how:
This file contains bidirectional Unicode text that may be interpreted or compiled differently than what appears below. To review, open the file in an editor that reveals hidden Unicode characters.
Learn more about bidirectional Unicode characters
| lazy var collider:UICollisionBehavior = { | |
| let lazyCollider = UICollisionBehavior() | |
| // This line, makes the boundries of our reference view a boundary | |
| // for the added items to collide with. | |
| lazyCollider.translatesReferenceBoundsIntoBoundary = true | |
| return lazyCollider | |
| }() | |
| // This is how our animate function will look like | |
| func animateSquare(){ | |
| animator.addBehavior(gravity) | |
| // Add the collider also to the animator | |
| animator.addBehavior(collider) | |
| // Add the squareView to both behaviors | |
| collider.addItem(squareView) | |
| gravity.addItem(squareView) | |
| } |
Here’s how it looks:
Adding UIDynaimcItemBehavior
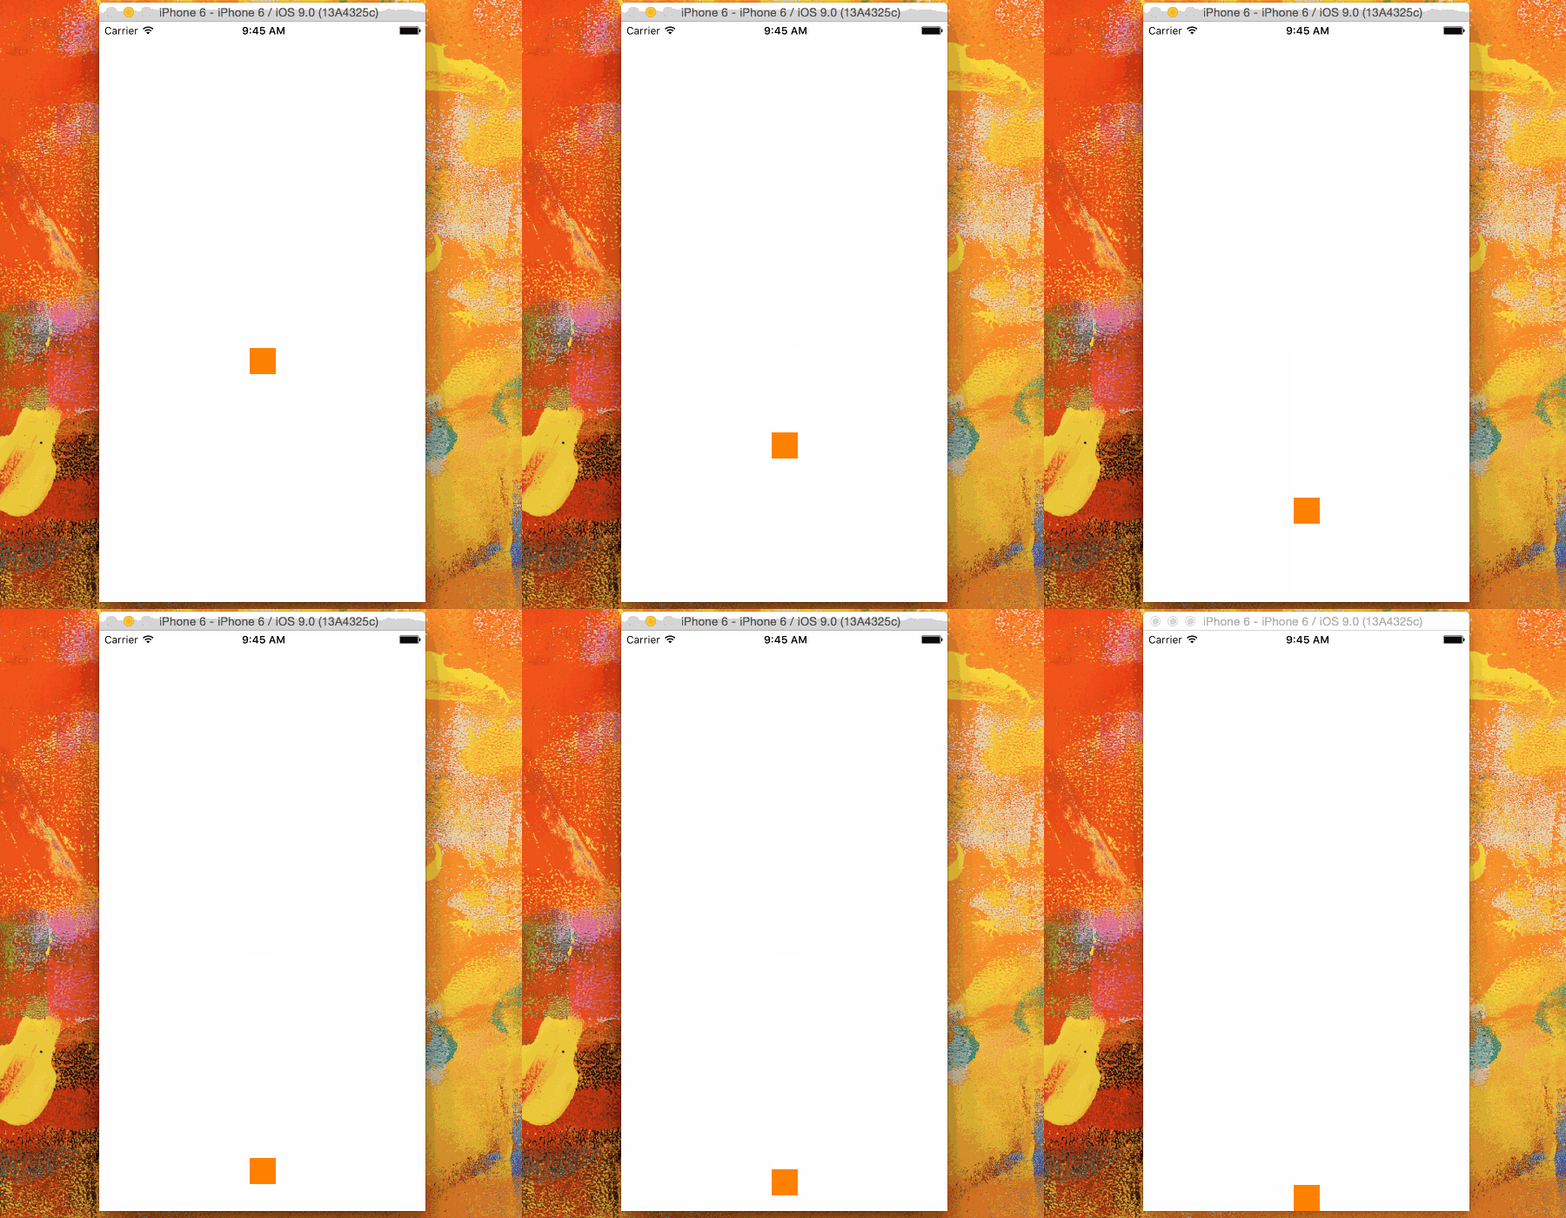
We can make our square more elastic, by creating/configuring UIDynamicItemBehavior.
A dynamic item behavior represents a base dynamic animation configuration for one or more dynamic items.
You can configure multiple physical aspects using the UIDynamicItemBehavior, for example:
- Elasticity: The amount of elasticity applied to collisions for the behavior’s dynamic items.
- Friction: The linear resistance for the behavior’s dynamic items when two slide against each other.
- Density: The relative mass density of the behavior’s dynamic items.
- Resistance: The linear resistance for the behavior’s dynamic items, which reduces their linear velocity over time.
Don’t confuse UIDynamicItemBehavior with UIDynamicBehavior, which is the parent class of all behaviors.
Now, let’s make our sqaure more elastic:
This file contains bidirectional Unicode text that may be interpreted or compiled differently than what appears below. To review, open the file in an editor that reveals hidden Unicode characters.
Learn more about bidirectional Unicode characters
| lazy var dynamicItemBehavior:UIDynamicItemBehavior = { | |
| let lazyBehavior = UIDynamicItemBehavior() | |
| // Let's make our square elastic | |
| // 0 = no elacticity, 1.0 = max elacticity | |
| lazyBehavior.elasticity = 0.8 | |
| // Other configurations | |
| // lazyBehavior.allowsRotation | |
| // lazyBehavior.density | |
| // lazyBehavior.friction | |
| // lazyBehavior.resistance | |
| return lazyBehavior | |
| }() | |
| func animateSquare(){ | |
| animator.addBehavior(gravity) | |
| animator.addBehavior(collider) | |
| // Add the dynamicItemBehavior to the animator | |
| animator.addBehavior(dynamicItemBehavior) | |
| collider.addItem(squareView) | |
| gravity.addItem(squareView) | |
| // And add the squareView to the dynamicItemBehavior | |
| dynamicItemBehavior.addItem(squareView) | |
| } |
Extending our example
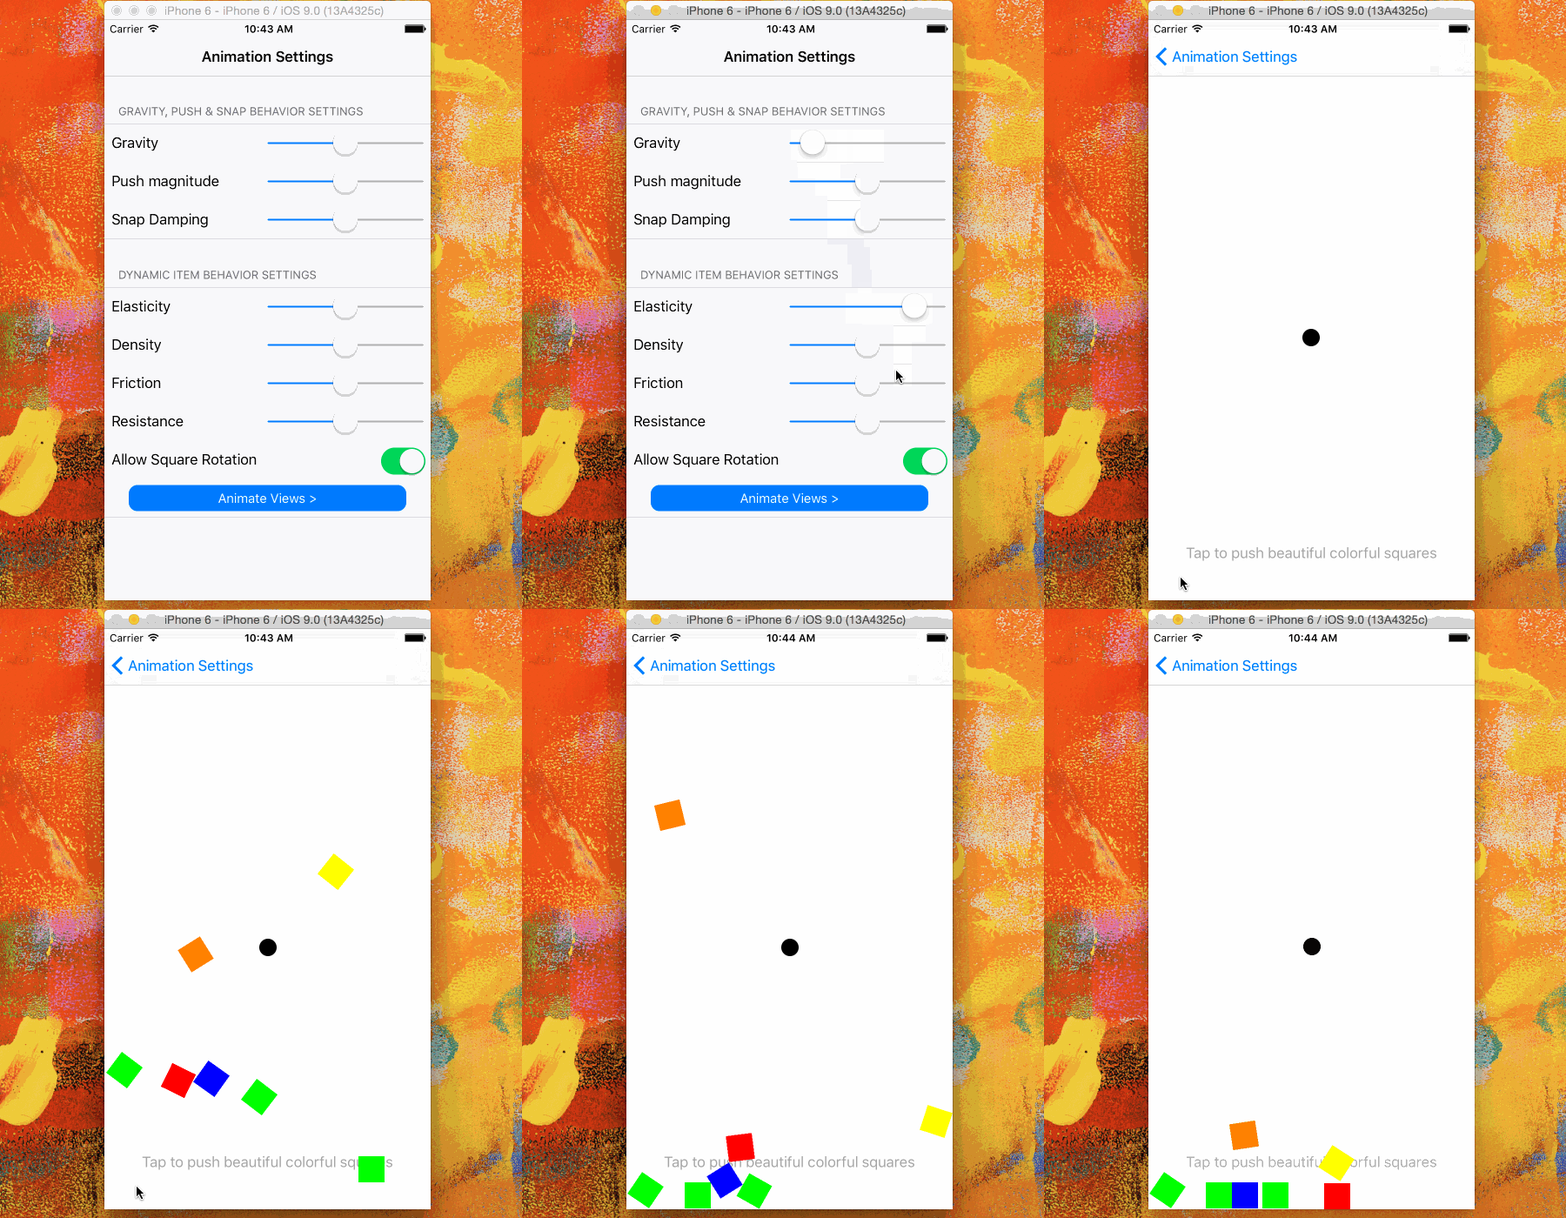
In the below demo application, I only used the above steps, with some extra minor additions to help us feel the effect of changing the multiple configurations.
Here’s a list of these extra additions:
- Configuration screen added, it really makes things more fun, you gotta play with it a little.
- In order to make things neat, I grouped all the square behaviors in one UIDynamicBehavior subclass (SquareBehavior).
- I made use from the UIPushBehavior.
- I made use from the UISnapBehavior.
- Made things more fun by throwing colorful squares from 2 canons ;] placed on the sides of the screen.
Demo App Link
The demo app is available on Github, feel free clone, try & customize it.
https://github.com/ahmed-abdurrahman/UIDynamicsDemo
Next
Wait for next week’s post, I’ll be discussing 3 more points:
- Detecting collisions between objects and boundaries.
- Illustrating what’s meant by “stasis”, and how to detect it.
- Note on how to avoid memory cycles.
See you next week :]
I’ll be happy answering your questions or inquiries, just write a comment below.
Edit: Oct 28
Had some nice comments on Twitter, here’re few of the best:
@a_abdurrahman It looks great – you have some good skills as a tutorial writer! :]
— Ray Wenderlich (@rwenderlich) October 23, 2015
@a_abdurrahman @NatashaTheRobot never played with UIKitDynamics before the post was a good read & I liked the iterative approach, nice work!
— Olivier Halligon (@aligatr) October 22, 2015
I will most definitely be going through this tutorial, later today! #swiftlang #UIkit #Swift2 #iOS https://t.co/ZhkTZR7FQD
— Bhuman Soni (@BhumanSoni) October 22, 2015
Pingback: UIKit Dynamics – Part 2 (Collision Detection, Stasis & Memory Cycles) | Ahmed Abdurrahman
Very nice tutorial! Two minor issues that I ran into is that I need to connect the IBOutlet to the View, otherwise it would crash on launch. Also, had to call animateSquare() in viewDidLoad() to get it to do it’s thing.
LikeLike
Pingback: UICollectionView Dynamic Layout [video] – Dmitry Bespalov